Pages

Thursday, 31 October 2013

Autumn Night


This Tut was written by me on the 31st October 2013

Supplies Needed

Font of choice

Mask of choice.

Animation 352 by Simone

Scrapkit- Pink Breeze by Bibi's Collection

You can find it - Here

Tube by Jose A Cano

You can find it Here

Drop shadow 1,1,60,6

After resizing > adjust sharpness > sharpen.

Open blank image 700 x 700.

Select all, paste paper 4 into selection, select none.

Apply mask, merge group.

Add element 42,  resize 60%, add drop shadow.

Using magic wand, click inside frame, select, modify, expand by 5, paste paper 1 as a new layer, select, invert , delete.

Arrange, move down.

Add element 77.

Keep selected, add element 18, resize 60%, delete, add drop shadow.

Add element 30, resize 50%, delete, add drop shadow, select none.

Add element 48, using deform tool, fit in onto the window.

Add element 45, using deform tool, fit on left side if the window, duplicate, image mirror, add drop shadow.

Add element 2, resize 40%, image mirror, add drop shadow.

Add element 28, resize 80%, add drop shadow.

Add element 39, resize 40%, add drop shadow .

Add element 56, resize 50%,  add drop shadow.

Add element 36, resize 40%,  add drop shadow.

Add element 34, resize 40%, add drop shadow.

Add element 1, resize 40% , add drop shadow.

Add element 31, resize 30%,  add drop shadow.

Add element 54, resize 60%,   add drop shadow.

Add tube, resize, add drop shadow.

Add element 60, resize 30%, add drop shadow.

Add element 13, resize 60%, duplicate, add drop shadow.

Add element 85, resize 40%, add drop shadow.

Resize, add name and copyright.

Animation

Copy merged, paste as a new animation.

 Duplicate until you have 12 frames, select all.

Open animation, select all,  copy click on 1st frame of animation, and drag onto the 1st frame of the tag.

Repeat as above and place where you like.

Save as gif.

Wednesday, 30 October 2013

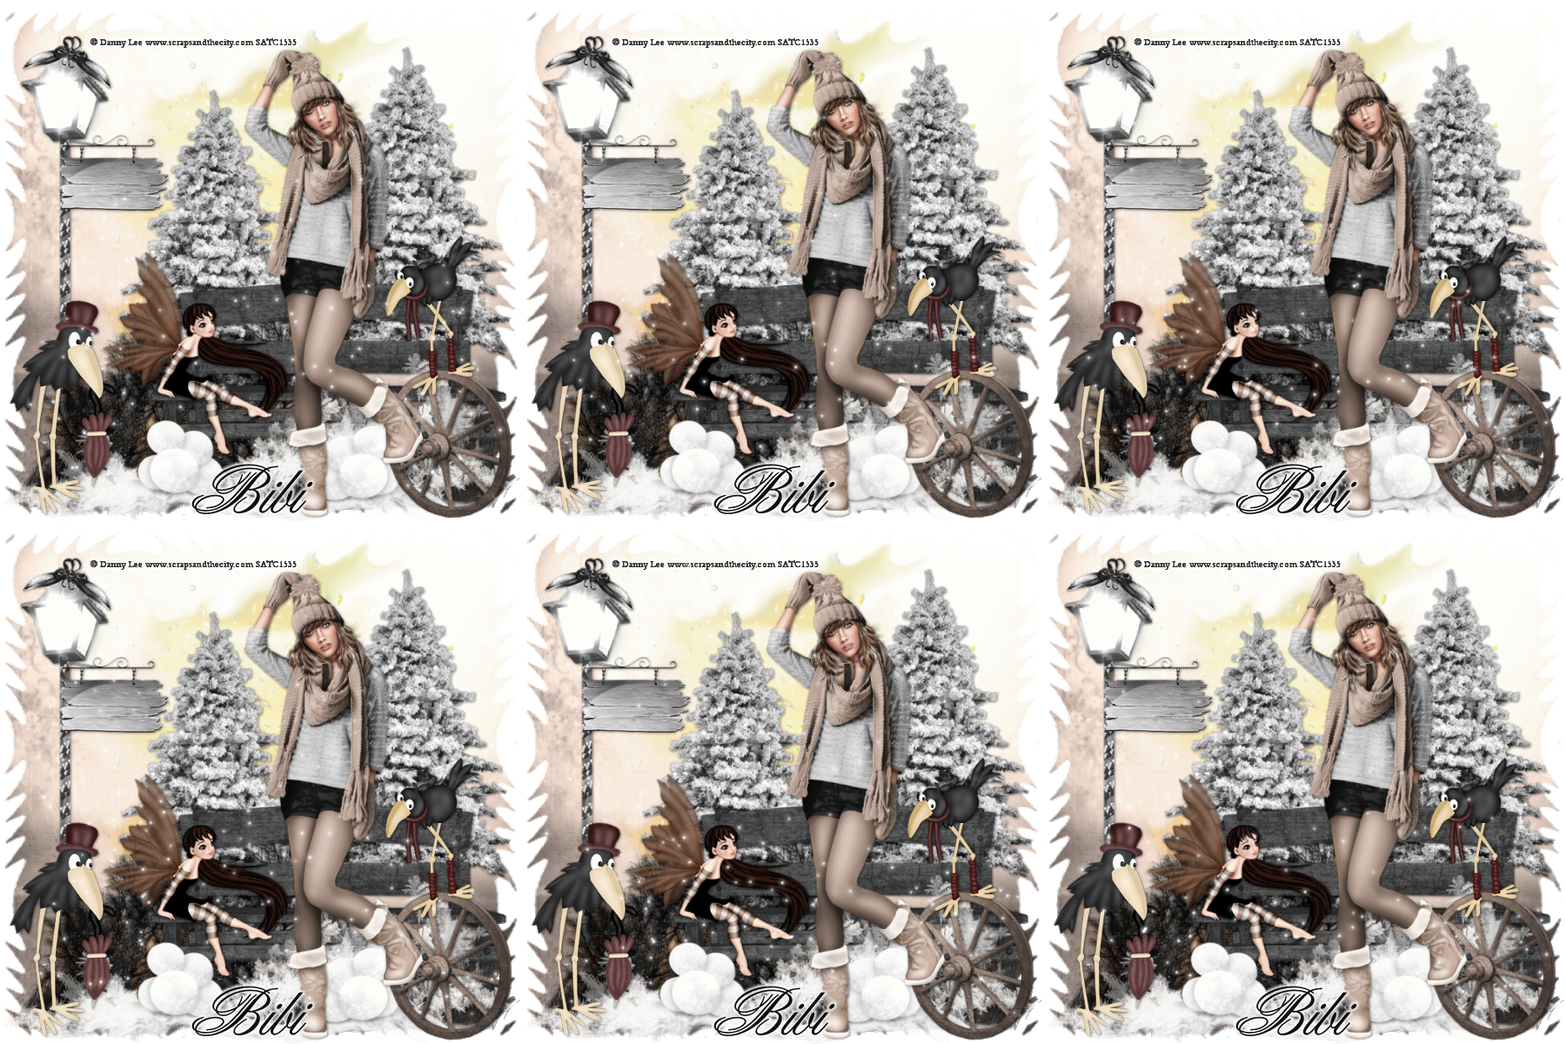
Leather Hottie


This Tut was written by me on the 30th October 2013

Supplies Needed

Font of choice

Falling flowers animation  by Simone

Scrapkit- Leather Baby by Bibi's Collection

You can find it - Here

Tube by Danny Lee

You can find it Here

Drop shadow 1,1,60,6

After resizing > adjust sharpness > sharpen.

Open blank image 700 x 700.

Select all, paste paper 1 into selection, select none.

Add element 10,  resize 80%, add drop shadow.

Add element 30, resize 80%, duplicate, merge down.

Add element 11.

Add element 24, add drop shadow .

Add element 73, resize 80%,  add drop shadow.

Add element 79, resize 80%,  add drop shadow.

Add element 82, resize 80%, add drop shadow.

Add element 56, resize 80% , add drop shadow.

Add element 78, resize 80%,  add drop shadow.

Add element 24, resize 40%,   add drop shadow.

Add element 80, resize 80%, add drop shadow.

Add element 9, resize 30%, add drop shadow.

Add element 85, resize 30%, add drop shadow.

Add element 43, resize 50%, add drop shadow.

Add tube, resize, add drop shadow.

Add element 54, resize 50%, add  drop shadow.

Add element 62, resize 40%, add drop shadow.

Add element 76, resize 40%, add drop shadow.

Add element 66, resize 20%, add drop shadow.

Add element 8, resize 60%, add drop shadow.

Click on background layer, select all, crop to selection.

Resize, add name and copyright.

Animation

Copy merged, paste as a new animation.

 Duplicate until you have 16 frames, select all.

Open animation, resize to the size of your tag, select all,  copy click on 1st frame of animation, and drag onto the 1st frame of the tag.

Save as gif.

Changing Seasons


This Tut was written by me on the 30th October 2013

Supplies Needed

Font of choice

Snowing animation  by Simone

Scrapkit- Fall Leaf by Bibi's Collection

You can find it - Here

Tube by Danny Lee

You can find it Here

Drop shadow 1,1,60,6

After resizing > adjust sharpness > sharpen.

Open blank image 700 x 700.

Select all, paste paper 1 into selection, select none.

Add element 16,  resize 60%.

Add element 57, resize 60%, duplicate, resize 80%, add drop shadow.

Add element 8, resize 70%,  add drop shadow.

Add element 75, resize 40%, add drop shadow .

Add element 67, resize 80%,  add drop shadow.

Add element 56, resize 50%,  add drop shadow.

Add element 64.

Add element 62, resize 80% , duplicate, image mirror, add drop shadow.

Add element 20, resize 40%, image mirror, add drop shadow.

Add element 24, resize 40%,   add drop shadow.

Add element 27, resize 40%, image mirror, add drop shadow.

Add element 26, resize 40%, add drop shadow.

Add tube, resize, add drop shadow.

Resize, add name and copyright.

Animation

Copy merged, paste as a new animation.

 Duplicate until you have 20 frames, select all.

Open animation, resize to the size of your tag, select all,  copy click on 1st frame of animation, and drag onto the 1st frame of the tag.

Save as gif.

Colours of Fall


This Tut was written by me on the 30th October 2013

Supplies Needed

Font of choice

Masks of Choice


Scrapkit- Fall Leaf by Design by Joan

You can find it - Here

Tube by Danny Lee

You can find it Here

Drop shadow 1,1,50,5

After resizing > adjust sharpness > sharpen.

Open blank image 700 x 700.

Flood fill with white, apply mask merge group.

New raster layer, select all, paste paper 2 into selection, select none.

Apply mask, merge group.

Add element 57,  resize 80%, add drop shadow.

Add element 24, resize 80%, add drop shadow.

Add element 52, resize 75%,   add drop shadow.

Using magic wand, select inside frame, modify, expand by 5, paste paper 9 as a new layer, select, invert delete.

Arrange, move down.

Keep selected , add tube, duplicate, select original, delete, select none.

Move copy of tube to the top, delete, any overhanging the bottom of the frame.

Add element 85, resize 60%, add drop shadow .

Add element 17, resize 70%, add drop shadow.

Add element 77,  resize 80%, add drop shadow.

Add element 61, resize 60% ,  add drop shadow.

Add element 84, resize 60%, add drop shadow.

Add element 64, resize 60%,   add drop shadow.

Add element 60, resize 60%, add drop shadow.

Add element 63, resize 60%, add drop shadow.

Resize, add name and copyright.

Sunday, 27 October 2013

Trick or Treat


This Tut was written by me on the 27th October 2013

Supplies Needed

Font of choice

2 Masks of Choice

Scrapkit- Goth Pink Halloween by Black Widow Creationz

You can find it - Here

Tube by Lilith Morana

You can find it Here

Drop shadow 1,1,50,5

After resizing > adjust sharpness > sharpen.

Open blank image 700 x 700.

Select all paste paper 10 into selection, select none, apply mask merge group.

New raster layer, select all, paste paper 9 into selection, select none.

Apply mask, merge group.

Add element 22,  resize 80%, duplicate, add drop shadow.

Add element 14.

Add element 30, add drop shadow.

Add element 5, resize 80%,   add drop shadow.

Add element 4,  add drop shadow .

Add element 2, resize 80%, duplicate, resize 80%, add drop shadow.

Add element 15,  resize 50%, add drop shadow.

Add tube, resize, add drop shadow.

Add element 34, resize 60% , image mirror, add drop shadow.

Add element 11, resize 60%, add drop shadow.

Add element 16, resize 40%.

Add element 31, resize 40%, add drop shadow.

Duplicate resize 60%, place near top of web.

Duplicate, effect, image effect, offset, horizontal  0, vertical - 15, transparent.

Repeat the above steps x 5.

Resize, add name and copyright.

Animation

Close off top 6 copies, copy merged, paste as a new animation.

Back to psp, close of original layer, open copy 1, copy merged, paste after current frame.

Repeat as above until you have all copies in animation shop.

You should now have 7 frames.

Select all, copy, paste after last frame, reverse animation.

Frame properties - 15.

Save as gif.

Cruelina


This Tut was written by me on the 27th October 2013

Supplies Needed

Font of choice

 Mask of Choice

Scrapkit- Cruelina by Black Widow Creationz

You can find it - Here

Tube by Vika Misticheskaya

You can find it Here

Drop shadow 1,1,60,6

After resizing > adjust sharpness > sharpen.

Open blank image 700 x 700.

Add element 14.

New raster layer, select all, paste paper 2 into selection, select none.

Apply mask, merge group.

Add element 33,  resize 70%, add drop shadow.

Using freehand selection, draw around the frame, select , modify expand by 5, paste paper 9 as a new layer, select invert, delete, select none.

Arrange move down.

Select top layer, click inside frame with magic wand, paste tube as new layer, select invert, delete, select none, blend- overlay.

Repeat for the other 2 frames, I left the middle on on normal blend, and the right one one on soft light.

Add element 20, resize using the deform tool, add drop shadow.

Add tube, resize,   add drop shadow.

Add element 37, resize 80%, add drop shadow .

Add element 38, resize 35%, image mirror, add drop shadow.

Add element 11,  resize 50%, add drop shadow.

Add element 13, resize 50%.

Resize, add name and copyright.

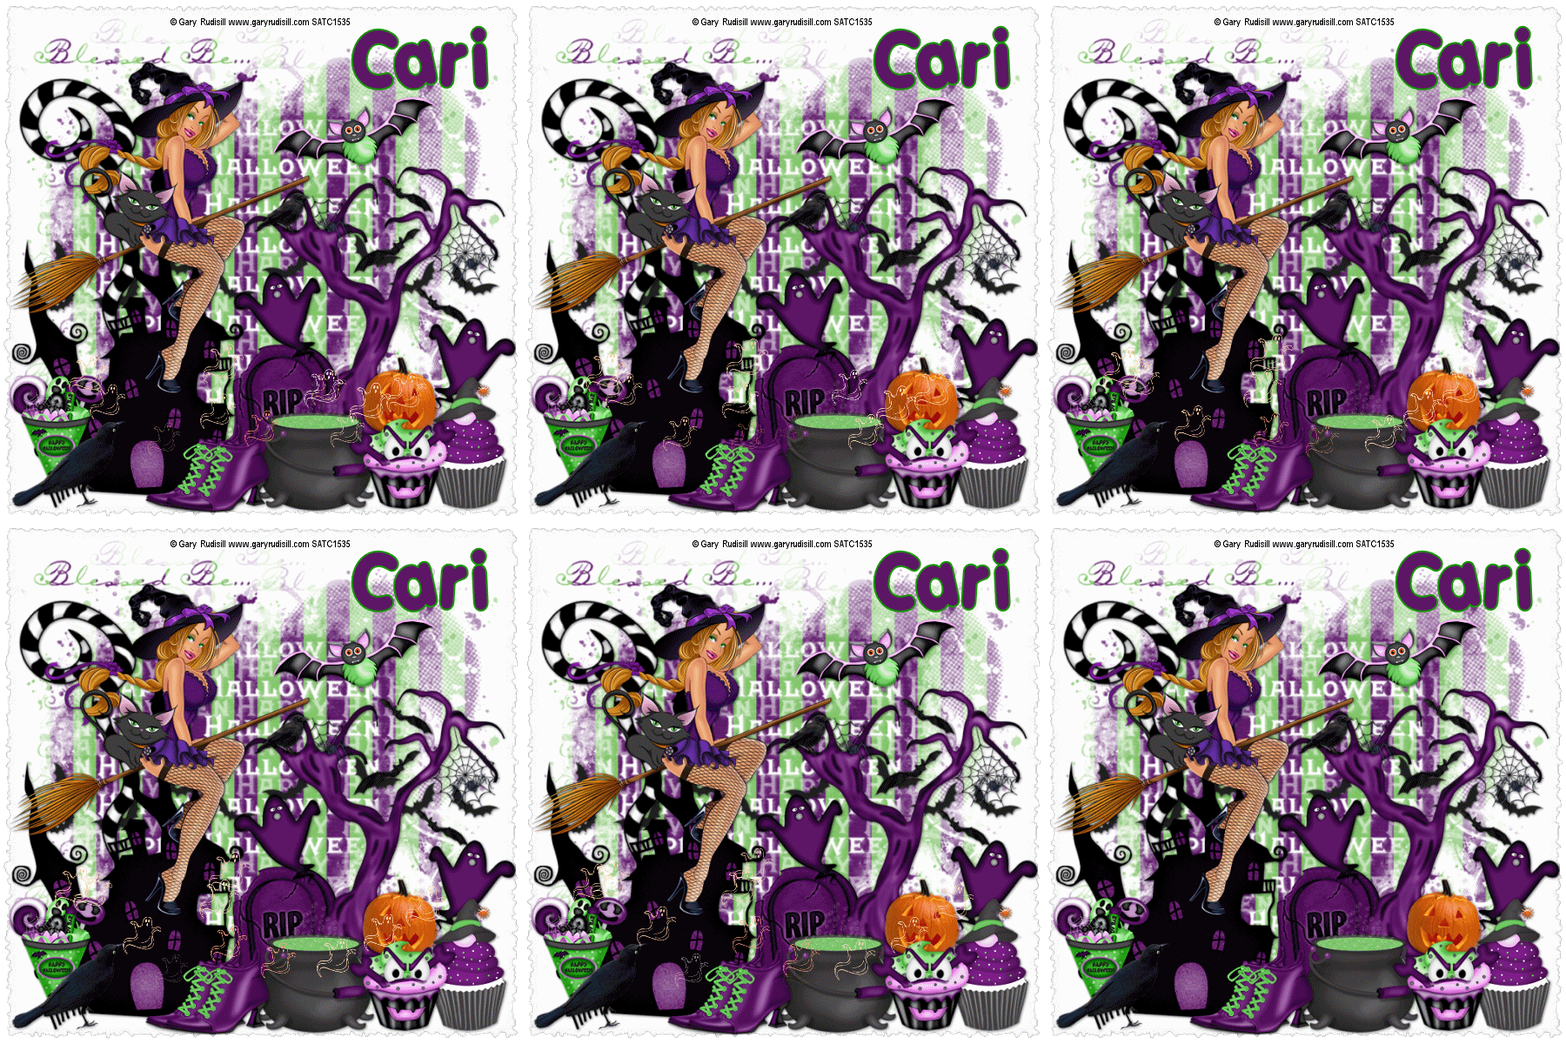
Bewitched


This Tut was written by me on the 27th October 2013

Supplies Needed

Font of choice

2 Masks of Choice

Animation 163 by Simone

Scrapkit- Darlin Nikki by Black Widow Creationz

You can find it - Here

Tube by Gary Rudisill

You can find it Here

Drop shadow 1,1,50,5

After resizing > adjust sharpness > sharpen.

Open blank image 700 x 700.

Flood fill with white, apply mask merge group.

New raster layer, select all, paste paper 3 into selection, select none.

Apply mask, merge group.

Add element 26,  resize 80%, add drop shadow.

Add element 13, resize 40%, add drop shadow.

Add element 35, resize 60%,   add drop shadow.

Add element 7, resize 80%, add drop shadow .

Add element 32, resize 70%, add drop shadow.

Add tube, resize, add drop shadow.

Add element 20,  resize 40%, add drop shadow.

Add element 1, resize 40% , duplicate, add drop shadow.

Add element 9, resize 45%, add drop shadow.

Add element 24, resize 40%,   add drop shadow.

Add element 4, resize 40%, add drop shadow.

Add element 6, resize 40%, add drop shadow.

Add element 38, resize 40%, image mirror, add drop shadow.

Resize, add name and copyright.

Animation

Copy merged, paste as new animation, duplicate until you have 21 frames, select all.

Open animation, select all, copy, drag 1st frame of animation onto 1st frame of tag, release.

Save as gif.