Pages

Sunday, 13 July 2014

Calling You


This Tut was written by me on the 13th July 2014

Supplies Needed

Font used - Akhenaton

Mask 119 by Gem

Scrapkit- Siren by Foxys Designz  


Animation 419 by Simone

Animation Shop

Drop shadow 1,1,50,6

After resizing > adjust sharpness > sharpen.

Open blank image 650 x 650

New raster layer, select all, paste paper 4 into selection, select none.

Apply mask, duplicate, merge group.

Add element 18, resize 80%, add drop shadow.

Add element 7 , resize 80%,  add drop shadow.

Add element 16, resize 80%, add drop shadow.

Add frame 1, resize 70%, add drop shadow.

Add element 14, resize 80%, add drop shadow.

Using magic wand, select inside frame, select, modify, expand by 5, paste paper 3 as a new layer, select , invert, delete, arrange, move down.

Keep selected, add tube, position, duplicate, select original layer, delete, select none.

Move copy of tube above the frame, using eraser, rub out the bottom of the tube that overlaps the frame.

Add element 12, resize 60%,   add drop shadow.

Add element 22,  resize 50%, image mirror, add drop shadow.

Add element 3, resize 40%, add drop shadow.

Add element 20, resize 60%, add drop shadow.

Add element 19, add drop shadow.

Add element 17, resize 30%, rotate right, add drop shadow.

Add element 6, resize 25%, duplicate, image mirror, add drop shadow.

Add name and copyright

Animation 

Open Animation Shop

Copy merged, paste as a new animation, duplicate until you have 12 frames.

Select all.

Open animation, select all, copy, drag 1st frame of animation onto 1st frame of , position, release.

Save as gif.

Thursday, 3 July 2014

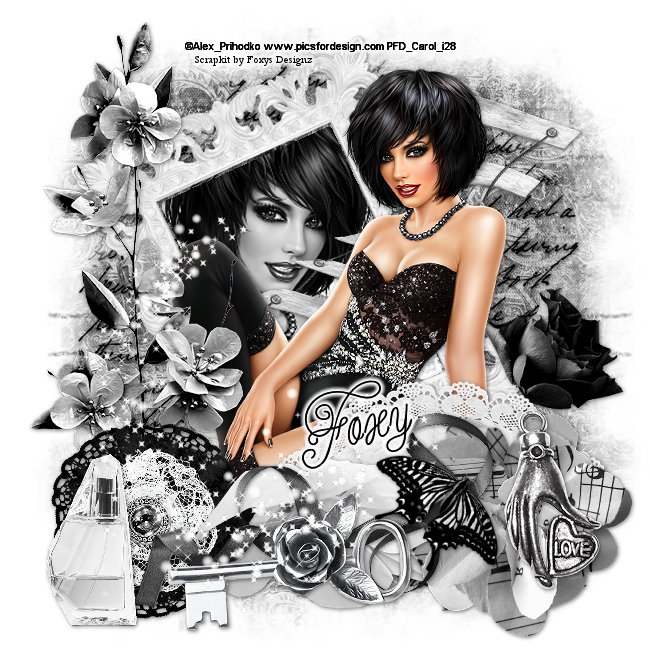
Key To My Heart


This Tut was written by me on the 3rd July 2014

Supplies Needed

Font used - Cake Script

Chrissy Chaos  mask 8

Scrapkit- Fairy Dust by Foxys Designz  

Tube by Alex Prihodko

Drop shadow 1,1,50,6

After resizing > adjust sharpness > sharpen.

Open blank image 650 x 650

New raster layer, select all, paste paper 7 into selection, select none.

Apply mask, merge group.

Add element 27, resize 70%, duplicate, merge down, add drop shadow.

Add frame 1, resize 50%, rotate left, add drop shadow.

Using magic wand, select inside frame, select, modify expand by 4, paste paper 6 as a new layer, select invert, delete, arrange, move down.

Keep selected, add tube, delete, blend - Luminance Legacy.

Move to the top layer.

Add element 20, resize 60%,   add drop shadow.

Add element 19,  resize 60%, add drop shadow.

Add tube, resize, add drop shadow.

Add element 17, add drop shadow.

Add element 29, resize 70%, add drop shadow.

Add element 18, resize 60%, add drop shadow.

Add element 1, resize 60%, add drop shadow.

Add element 15, resize 40%, add drop shadow.

Add element 11, resize 30%, rotate right, add drop shadow.

Add element 3, resize 80%, duplicate, merge down.

Add name and copyright

Monday, 30 June 2014

American Gal


This Tut was written by me on the 30th June 2014

Supplies Needed

Font used - Aguafina Script

Scrapkit- American Woman by Amy Marie

Tube by Malberri


Drop shadow 1,1,50,5

After resizing > adjust sharpness > sharpen.

Open blank image 851 x315

New raster layer, select all, paste paper 10 into selection, select none.

Add element 77, resize 80%, add drop shadow.

Add element 17, resize 80% .

Add element 21, resize 70%.

Add element 23,  resize 90%, image mirror.

Add element 108, resize 70%, add drop shadow.

Add element 38, resize 60%, add drop shadow.

Add element 9, resize 80%, add drop shadow.

Add element 75, resize 40%, add drop shadow.

Add tube, resize, add drop shadow.

New raster layer, flood fill with colour of choice, select all, modify, contract by 4, select, invert, delete.

Add name and copyright

Monday, 23 June 2014

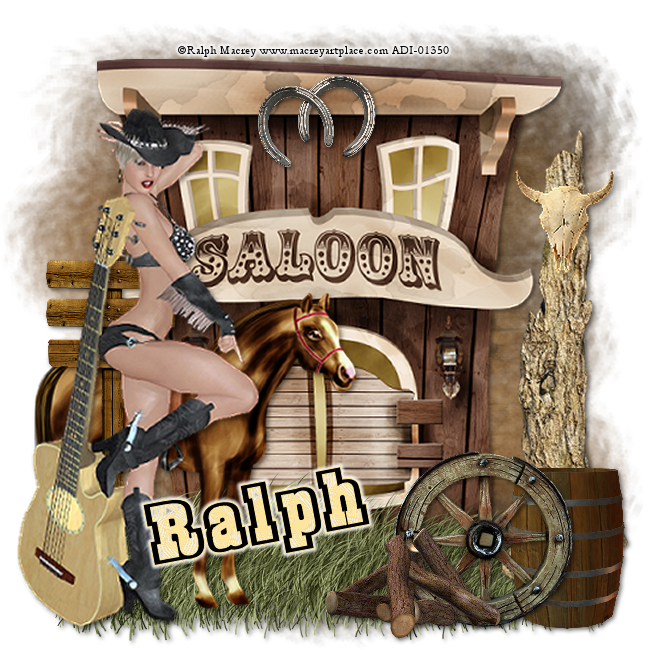
Hoe Down Time


This Tut was written by me on the 23rd June 2014

Supplies Needed

Witchys heart mask 8

Font used - Burris

Scrapkit-  Yeehaw Baby

Tube by Ralph Macrey


Drop shadow 2,2,50,6

After resizing > adjust sharpness > sharpen.

Open blank image 650 x 650

New raster layer, select all, paste paper 1 into selection, select none.

Add element saloon, resize 80%, add drop shadow.

Add element horseshoes, resize 25%, add drop shadow.

Add element grass, resize 55%, duplicate, add drop shadow.

Add element tree trunk, image mirror, resize 70%, add drop shadow.

Add element animal skull resize 25%, add drop shadow.

Add element barrel, resize 40%, add drop shadow.

Add element horse, resize 65%, add drop shadow.

Add element sign, resize 60%, add drop shadow.

Add element wheel, resize 30%, add drop shadow.

Add tube, resize, add drop shadow.

Add element logs, resize 25%, add drop shadow.

Add name and copyright

Sunday, 22 June 2014

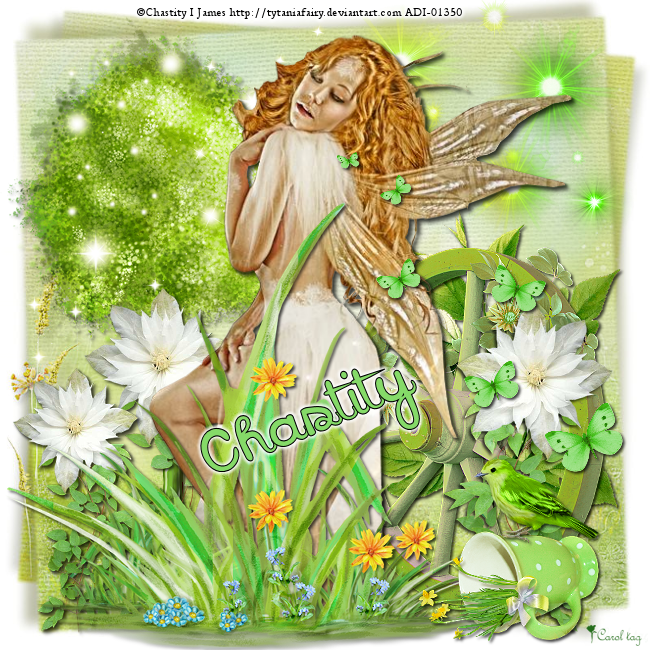
Garden Fae


This Tut was written by me on the 22nd June 2014

Supplies Needed

Font used - Sweet Dreamz

Scrapkit-  Spring Song by Tiny Turtle Designs

Tube by Chastity I James


Drop shadow 2,2,60,4

After resizing > adjust sharpness > sharpen.

Open blank image 650 x 650

New raster layer, select all, paste paper 4 into selection, select none.

Add element 113, resize 70%, add drop shadow.

Add element 11, resize 70%, add drop shadow.

Add element 21, resize 70%.

Add element 112,  resize 60%, add drop shadow.

Add element 32, resize 60%, duplicate image mirror, duplicate, resize 80%, add drop shadow.

Add element 76, resize 70%.

Add tube, resize, add drop shadow.

Add element 51, resize 80%, add drop shadow.

Add element 12, resize 50%, add drop shadow.

add element 86, resize 35%, add drop shadow.

Add element 82, resize 25%, image mirror, add drop shadow.

Add name and copyright

Tuesday, 17 June 2014

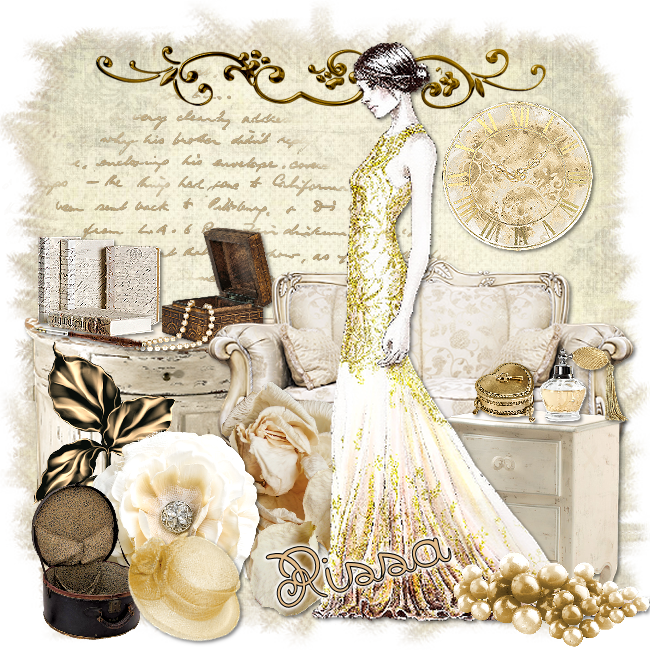
Classic Elegance


This Tut was written by me on the 17th June 2014

Supplies Needed

Font used - Badian Bold

Aqua Rebel  mask 51

Scrapkit- Classic Lady by Rissas Design

Tube by Tania Santos


Drop shadow 2,2,50,5

After resizing > adjust sharpness > sharpen.

Open blank image 650 x 650

New raster layer, select all, paste paper 6 into selection, select none.

Resize 80%

New raster layer, select all, paste paper 8 into selection, select none.

Apply mask, merge group

Add element 27, duplicate, merge down.

Add element 34, resize 70%, add drop shadow.

Add element 88, resize 40%,   add drop shadow.

Add element 87,  resize 30%, add drop shadow.

Add element 45, resize 30%, add drop shadow.

Add element 78, add drop shadow.

Add element 41, resize 70%, add drop shadow.

Add element 64, resize 60%, add drop shadow.

Add element 10, resize 45%, add drop shadow.

Add element 15, resize 40%, add drop shadow.

Add element 20, resize 20%, add drop shadow.

Add element 40, resize 60%, add drop shadow.

Add element 65, resize 40%, add drop shadow.

Add tube, resize, add drop shadow.

Add element 49, resize 25%, add drop shadow.

Add element 32, resize 40%, image mirror, add drop shadow.

Add element 53, resize 20%, add drop shadow.

Add element 21, resize 30%, add drop shadow.

Add element 19, resize 30%, add drop shadow.

Add name and copyright

Thursday, 12 June 2014

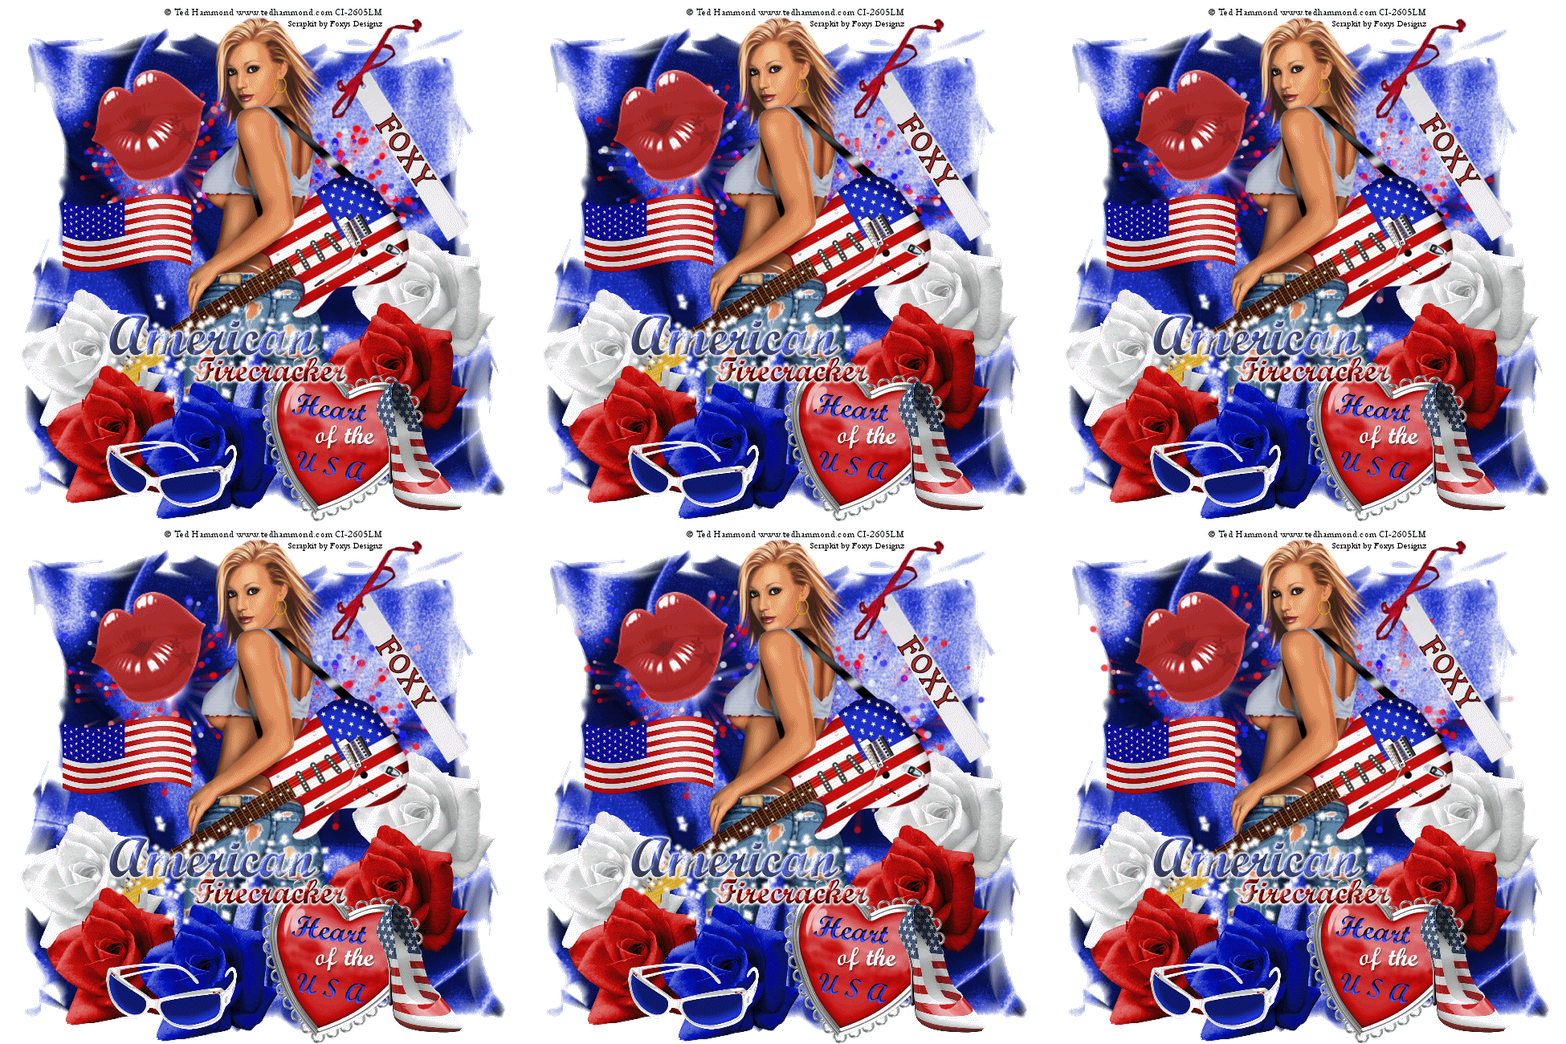
American Firecracker


This Tut was written by me on the 12th June 2014

Supplies Needed

Font used - Shrewsbury

Mask - Wee Scots Lass 247

Animation 473 by Simone

Animation Shop

Scrapkit- IB Ted Hammond 31-3 by Foxy's Designz

Tube by Ted Hammond

Both available at CDO

Drop shadow 1,1,60,5

After resizing > adjust sharpness > sharpen.

Open blank image 650 x 650

New raster layer, select all, paste paper 6 into selection, select none.

Apply mask, merge group.

Add element 10, resize 60%, duplicate, add drop shadow.

Add tube, resize, add drop shadow.

Add element 11, resize 60% , duplicate,  add drop shadow.

Add element 12, resize 60%,  add drop shadow.

Add element 5, resize 60%,  add drop shadow.

Add element 2, resize 60%, add drop shadow.

Add element 3, resize 40%, add drop shadow.

Add element 13,  add drop shadow.

Add element 17, resize 50%, add drop shadow.

Add word art 1, resize 60%, add small gradient glow.

Add element 9, resize 40%, add drop shadow.

Add name and copyright

Animation

Open Animation Shop

Copy masked layer, paste as a new animation, duplicate until you have 16 frames, select all.

Open animation 473, select all, copy.

Drag 1st frame of animation onto 1st frame of tag, release when you are happy with the position.

Repeat as above, select all.

Back to PSP, close masked layer, copy merged, paste as a new animation.

Select all, copy, drag 1st frame of tag onto 1st frame of animation, release.

Save as gif